
New article
Recently updated
Controls and Control Types

Audience: Risk Administrators
The controls feature within Risk Manager gives you the ability to associate the controls being put in place when handling risks. They also ensure that the information being logged is consistent and useful when reporting. Controls can be set within the Risk Manager module to help keep track of the actions put in place when handling risks and to make sure information being logged is consistent and useful when reporting.
Control Types
The controls logged within Risk manager are organised into Control Types. To create and amend existing Control Types select Risk Manager | Risk Administration | Control Types. This will reveal a list of any existing Control Types.

Create a New Control Type
- Select the Add New icon from the upper right corner of the screen form. This will reveal a Control Type Details screen.
Note: The (back) icon returns you to the Control Type list.
![]()
- Fill in the details. Title is mandatory, Description is optional but advised as it helps give a better understanding of the Control Type.
- Select the save icon to confirm and create the new Control Type.
Amend Existing Control Types
Once a control type has been created, you can amend the details later if required. Additionally, you can also associate Metadata Types and Documents so that any controls raised of this type will have the additional fields and documentation required to help the person responsible and ensure that all the required information is captured.
- Select a Control Type from the list. You will be presented with the Control Type Details screen similar to below:

- Amend any details
- Select the Save icon
Associate Metadata Types with Control Types
To associate metadata with a Control Type, first select the Control Type from the Control Type records list. You should see a screen similar to below.
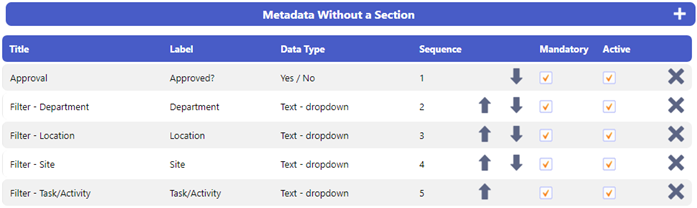
- Selection of the Associate New Metadata Type icon (+) in the Metadata Without a Section will display the Metadata Type Details filter and list screen similar to this:

- The Metadata Type Details screen is paginated and records are viewed by selecting the page numbers to the bottom left of the list screen
- List filters are Title, Label, based on a string of characters contained within and Data Type.
- Tick the checkbox to the right of the items you want and associate and select the Metadata Type icon. The following system message screen will be displayed:
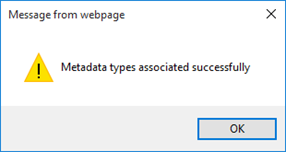
- Select OK to continue. This will return you to the calling screen, where you will see your selected Metadata Types added to the bottom of the list similar to this:
Creating a New Metadata Section
Metadata can be split into sections for easier organisation. This will effect how they are displayed on screen when a control of this type is raised against a risk.
- To add a new Metadata section, select the Add Section button in the Associated Metadata Types header bar.
- Provide a title and select save. A new section will appear, similar to below
![]()
- Metadata can now be associated with your newly created section(s) by selecting the Associate New Metadata Type icon (+)
- Additionally, you can rename the section with the Edit Section Name icon
- Permissions can be applied by selecting the Permissions icon
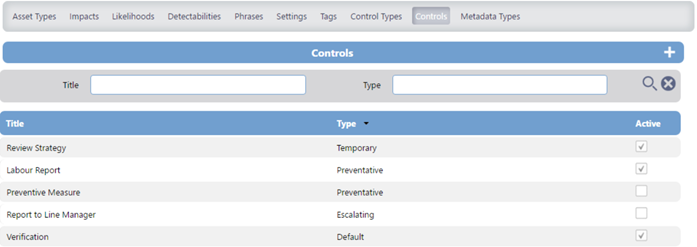
Controls
To create and amend existing Controls select Risk Manager | Risk Admin | Controls. This will reveal a list of any existing Controls.
Create a New Control Type
-
-
-
-
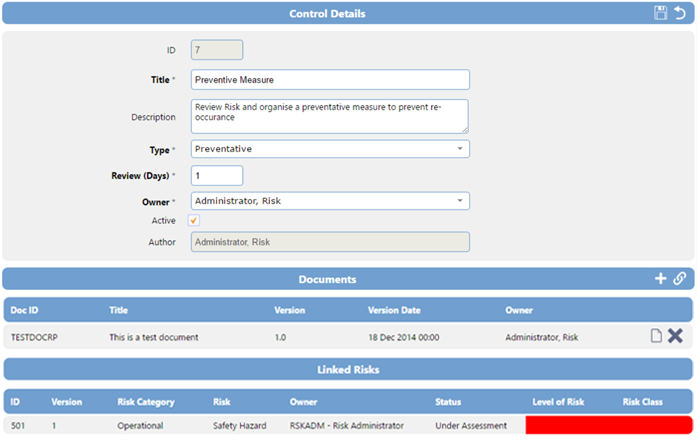
- Select the Add New icon from the upper right corner of the screen form. This will reveal a Control Details screen.
-
-
-
![]()
-
-
-
-
- Fill in the details and select a Control Type from the drop down list. Title, Type, Review Days and Owner are mandatory fields. Description is optional but advised as it helps give a better understanding of the control.
- Select the Save icon
-
-
-
Associate a Document with a Control
-
-
-
-
- Once a Control is created it is possible to associate EQMS Documents or add new ones specifically to the control. You can also view any Risks linked to this control in a list below.
-
-
-
-
-
-
-
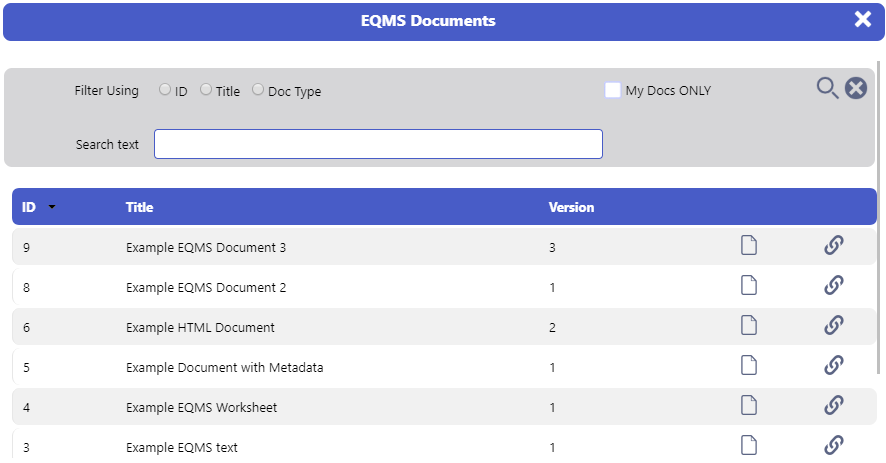
- To link an existing EQMS document to a control, select the “link” icon to the right of the Documents header below the Control Details form. An EQMS documents overlay will be displayed. Using filters and search, you can locate the required document and select the “link” icon to the right of the relevant row.
-
-
-
-
-
-
-
- To add a new document to a control, select the Add New icon to the right of the Documents header below the Control Details form. A New Document overlay will be displayed.
-
-
-

- Give the document a title and select Choose File to locate a locally stored document.
- Select the (upload) icon to attach the document to the Control.
-
-
-
-
- Linked and Attached Documents will be displayed in a list below the Documents header.
-
-
-
Amend an Existing Control
-
-
-
-
- Select the Control you wish to amend from the list.
-
-
-
-
-
-
-
- Amend any details
- Select the save icon
-
-
-